Using Flash Download Tool to Flash ESP32 Firmware
Previously, we flashed the firmware directly from VSCode, but now we will use Flash Download Tool to download the firmware onto the ESP32 board.
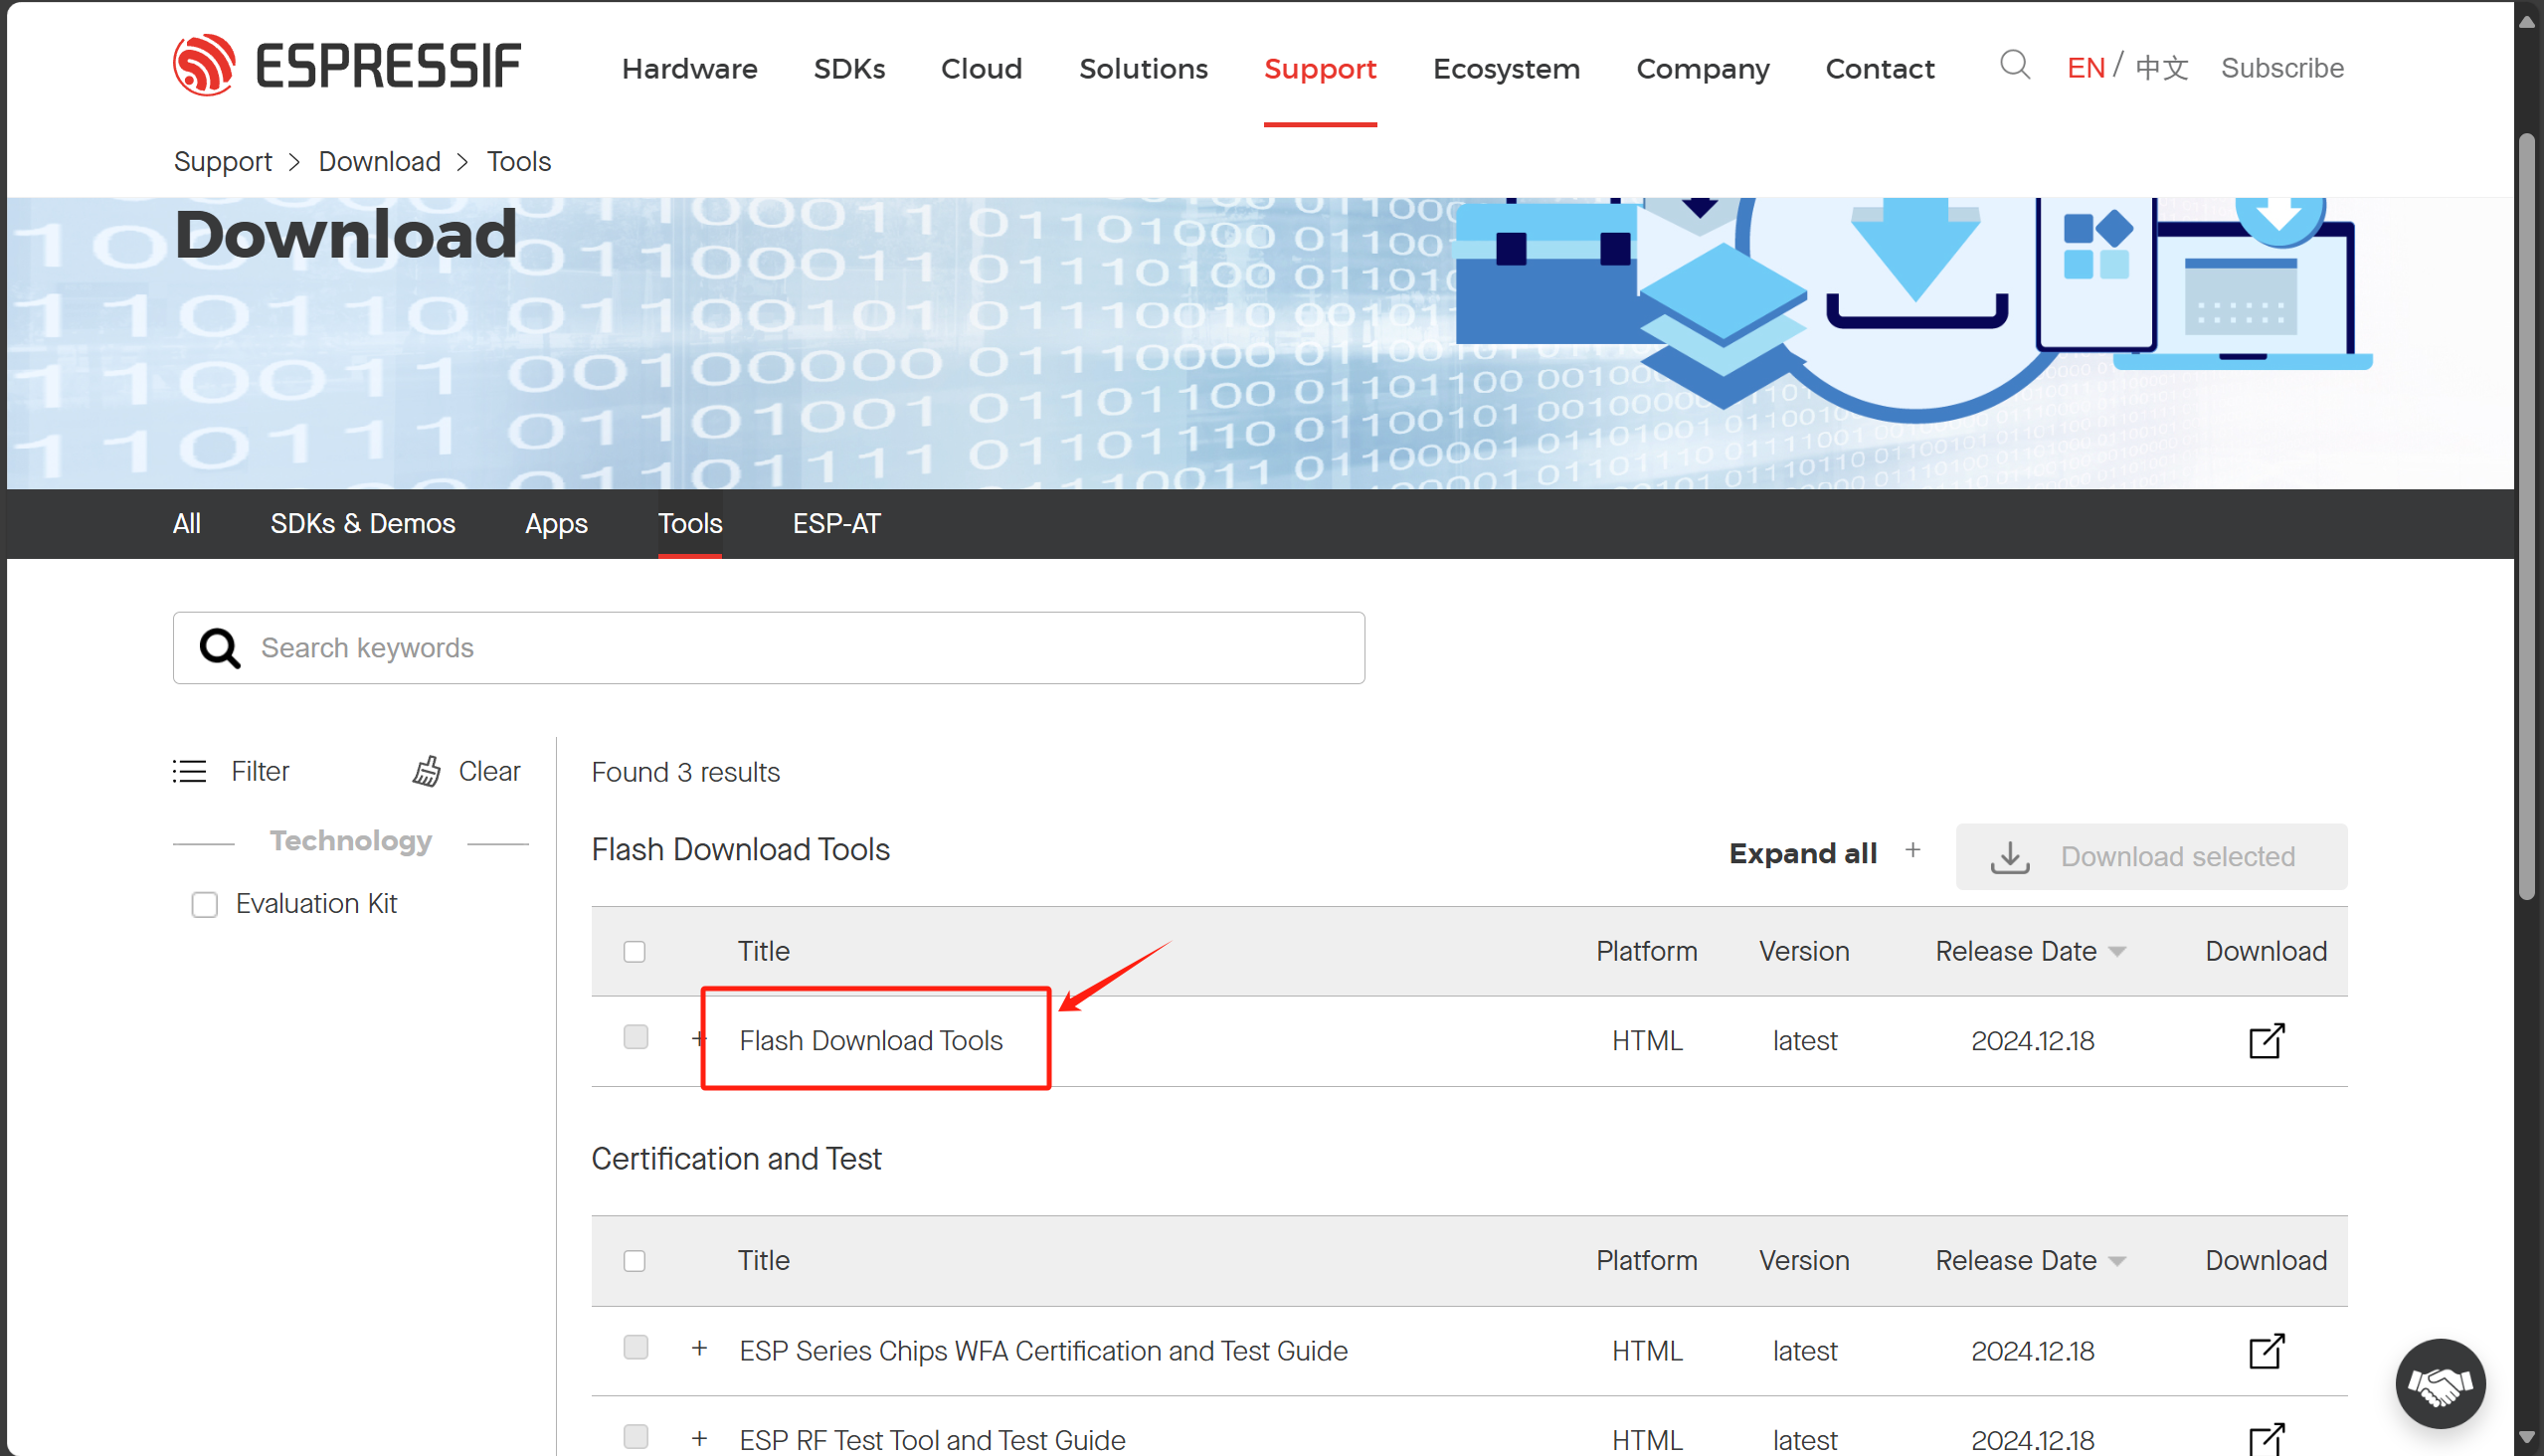
1️⃣ Download Flash Download Tool
Flash Download Tool is an official flashing tool from Espressif, compatible with all ESP chips.
📥 Download Link:
🔗 Espressif Flash Download Tool
- Click on the “Flash Download Tools” button to download.
- After downloading, double-click
flash_download_tool_3.9.7.exeto open the software.
2️⃣ Configuring Flash Download Tool
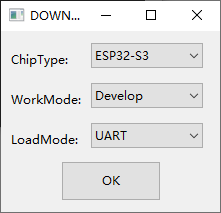
1. Selecting Chip and Load Mode
- ChipType: Select the ESP32-S3 chip.
- WordMode: Choose Develop (for flashing a single board) or Factory (for flashing multiple boards in a production line).
- LoadMode: Select UART (for serial flashing).
- Click OK to continue.
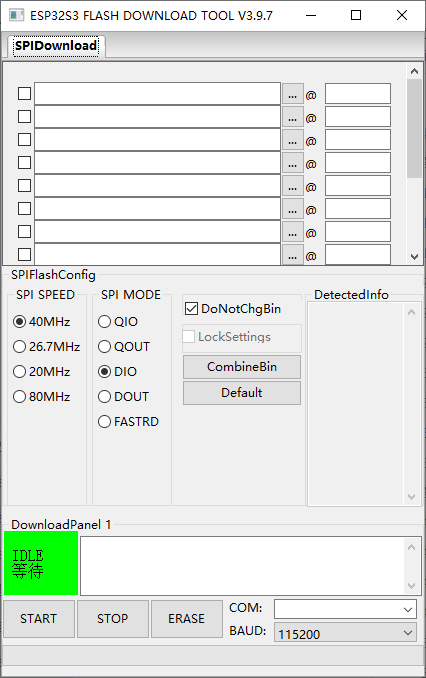
 Now, the flashing interface will appear.
 —
—
2. Gathering Flashing Information from VSCode
In VSCode, when we flashed the firmware, the terminal output displayed important details for flashing manually.
- Open VSCode and go to the bottom-right corner.
- Click on “Python Task” in the terminal.
- Scroll up slightly to find the relevant flash details.

📌 From VSCode, we extract the following information:
| Setting | Value |
|---|---|
| Serial Port | COM19 |
| Baud Rate | 460800 |
| Flash Mode | DIO |
| Flash Frequency | 80M |
③ Locating the Binary (.bin) Files
We need to load three .bin files into Flash Download Tool:
| File | Location |
|---|---|
| bootloader.bin | build/bootloader/bootloader.bin |
| hello_world.bin (Application) | build/hello_world.bin |
| partition-table.bin | build/partition_table/partition-table.bin |
The partition table defines different sections in flash memory (similar to C:\ and D:\ drives on Windows).
Later, we can create a custom partition table for AI models or file storage.
3️⃣ Flashing Firmware with Flash Download Tool
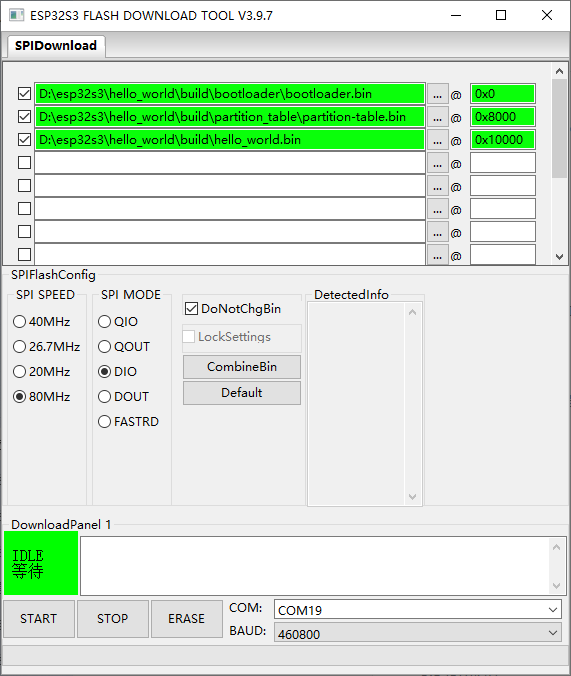
① Load the .bin Files
- Bootloader → Load
bootloader.binat 0x0. - Application Firmware → Load
hello_world.binat 0x10000. - Partition Table → Load
partition-table.binat 0x8000.
② Configure SPIFlash & Serial Port
- Serial Port: Set to COM19.
- Baud Rate: 460800.
- Flash Mode: DIO.
- Flash Frequency: 80M.
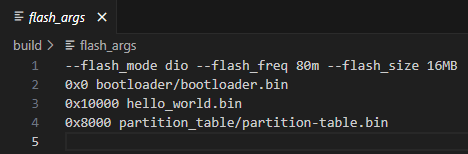
 Note: You can also find this information in
 build/flash_args in VSCode.
③ Start Flashing
Once the configuration is done:
- Check the checkboxes for all
.binfiles (only checked files will be flashed).
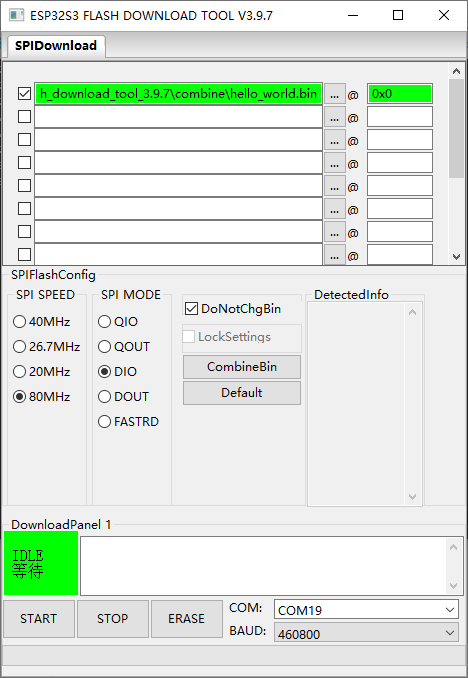
- Click START in the bottom-left corner.
- Wait for the flashing process to complete.
📌 Important Notes:
- If you want to test different
.binfiles, you can load multiple files but only check the ones you want to flash. - After flashing, the ESP32 will not run automatically. You must press the reset button or power cycle the board.
4️⃣ Merging .bin Files for Easier Flashing
If you’re preparing a final firmware for production, you can merge the .bin files into a single file.
- Click the “CombineBin” button in Flash Download Tool.
- The merged
.binfile will be saved in thecombine/folder astarget.bin. - Rename it to
hello_world.binfor easier reference. - In the future, flashing will only require this one file, making the process more efficient.
🎯 Summary
- Download and install Flash Download Tool.
- Extract flashing details from VSCode terminal.
- Load bootloader, application, and partition-table binaries.
- Set correct serial port and SPIFlash settings.
- Click START to flash.
- Press reset after flashing to run the program.
- Combine binaries for simpler production flashing.
Now, your ESP32 firmware is successfully flashed! 🚀 Let me know if you need further help! 😊